
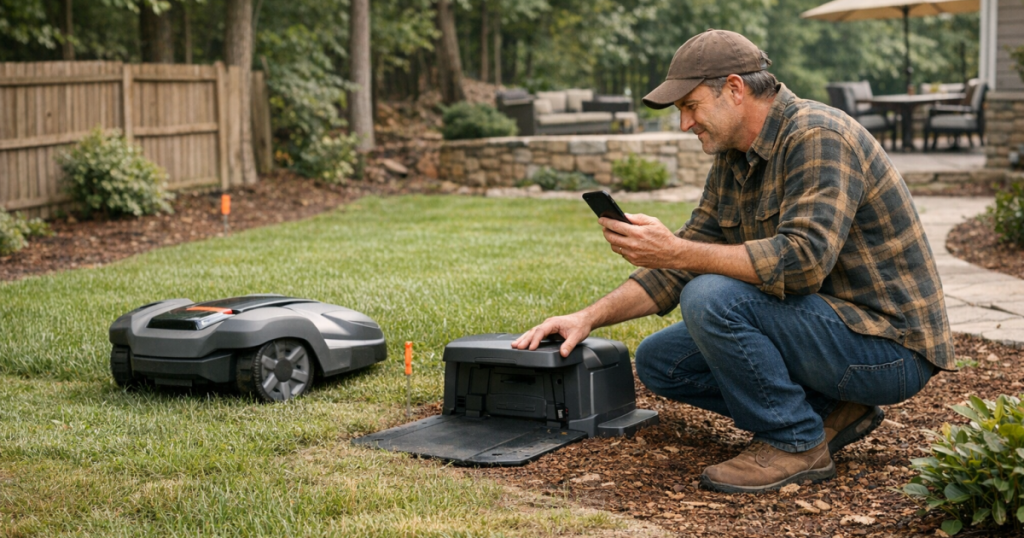
A seven-day robot mower trial is not a race to let the mower handle everything immediately. It is a controlled first week where you cut the lawn down, map cautiously, run supervised tests, fix obvious rescue points, and only then settle into a schedule the mower can repeat without constant attention.
The goal is simple: by the end of the week, the mower should complete the intended work area, return to its charging station, and repeat that pattern often enough that the lawn rarely looks overdue. The quiet magic comes later; the first week is mostly observation, small corrections, and resisting the urge to change five settings at once.
The big picture
A dependable robot mower schedule is not just a timer. It is the combination of the right cutting height, realistic mowing windows, accurate boundaries, passable transitions, clean docking behavior, and fewer predictable interruptions. If one of those pieces is weak, the mower may still run, but the lawn will show it through missed strips, ragged edges, wheel marks, or repeated stuck alerts.
Before the first run, confirm the mower type actually suits the yard you are asking it to manage. Boundary-wire systems, wire-free RTK models, camera-guided mowers, and hybrid navigation systems all have different strengths around tree cover, slopes, narrow passages, fenced sections, and separated front and back lawns. If you are still matching a mower to a property, the Robot Mower Yard Fit Finder is the better starting point than trying to make an unsuitable mower behave during setup.
Day 0: cut the lawn down before the robot takes over
Robot mowers are maintenance cutters, not overgrown-grass rescue machines. The most useful preparation is a conventional cut to bring the lawn close to the height you want the robot to maintain. This gives the blades lighter work, helps the mower travel more predictably, and makes missed areas easier to see.
Do the unglamorous cleanup too: pick up toys, hoses, fallen branches, dog bones, loose landscape fabric, and anything a low mower body could ride over or drag. Mark sprinkler heads, exposed roots, low edging, drainage covers, and soft patches. In a fenced yard, check gates and latches; in a front yard, think about sidewalks, driveways, mailboxes, and HOA-visible edges.
Choose an initial cutting height conservatively. If the grass is stressed, patchy, or entering a hot spell, start higher rather than chasing a golf-course look. A robot mower can improve the sense of tidiness through frequent small cuts, but it cannot compensate for poor turf health, scalped crowns, or compacted soil.
Day 1: place the station and test docking before mapping
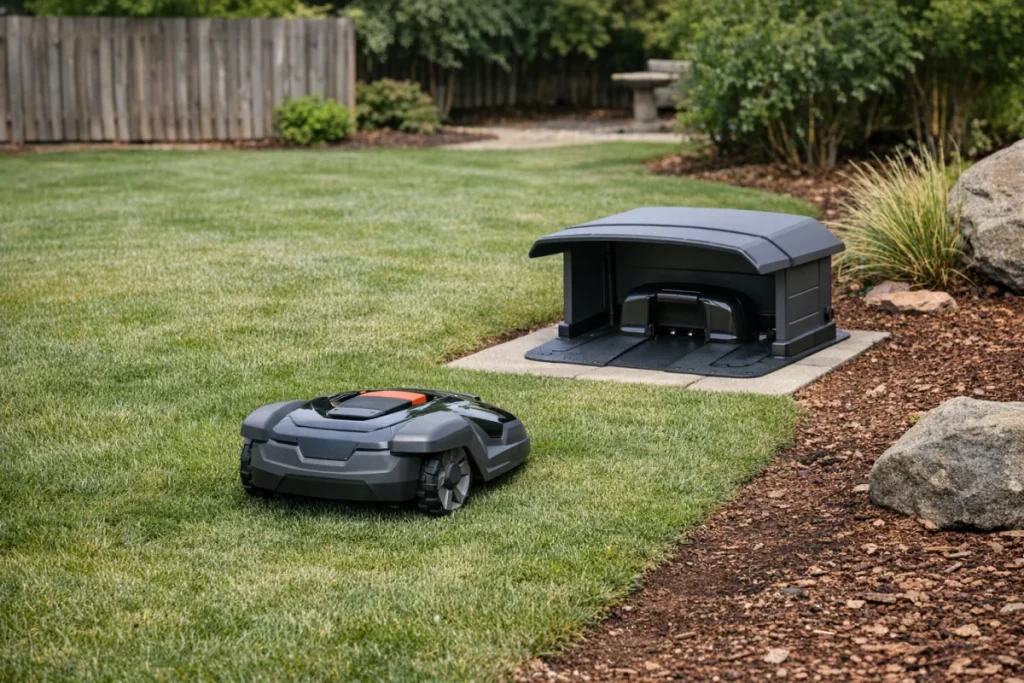
The charging station deserves more attention than many new owners give it. A poor station location can create a week of false troubleshooting: failed returns, awkward turns, wheel rutting, or unreliable starts that look like mower problems but are really placement problems.
- Use a firm, level spot that does not puddle after irrigation or rain.
- Leave the approach path as open and straight as the manufacturer recommends.
- Avoid placing the station where tight turns immediately follow docking or launch.
- For wire-free systems that rely on satellite positioning or reference equipment, follow the manufacturer’s guidance on sky visibility and mounting location.
- Check that outdoor Wi-Fi or app connectivity is adequate where the mower and station actually sit, not just near the house.
Before mapping the full yard, run a simple dock-and-undock test several times. Watch the wheels, body clearance, and turning behavior. If the mower hesitates, slips, or approaches at an awkward angle, fix that now. A clean docking routine is the heartbeat of the whole schedule.
Day 2: map less lawn than you ultimately want
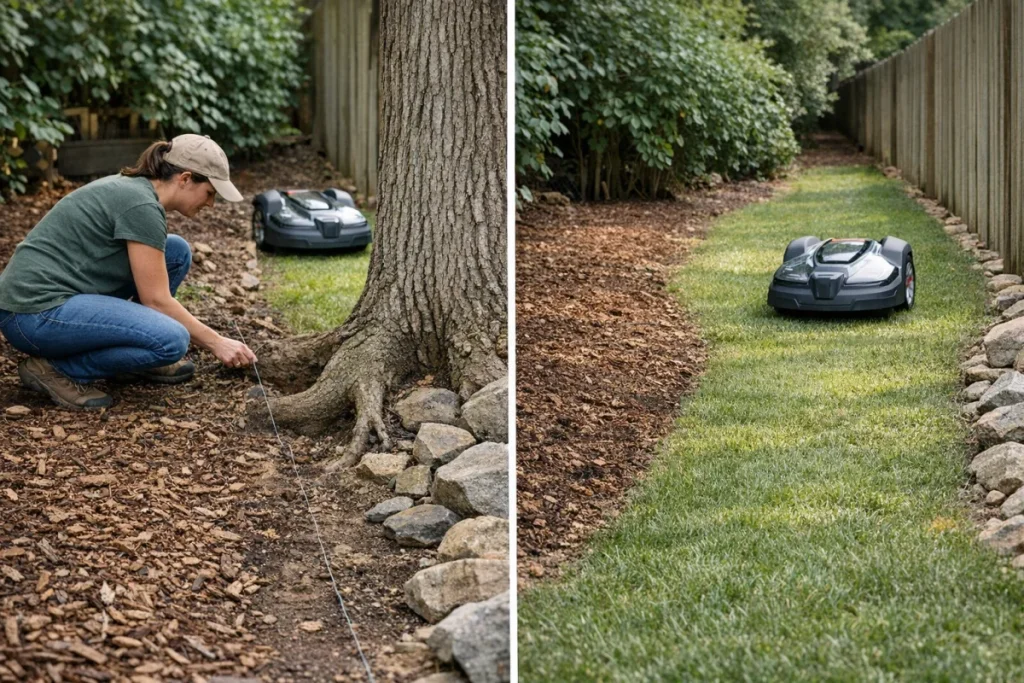
The best first map is usually not the most ambitious one. Start with the main, open area of the lawn where the mower has the fewest complications. Leave tight side yards, steep banks, separated front strips, and cluttered play areas for later zones or test runs.
This is also where boundary method matters. A boundary-wire mower depends on the installed wire path and guide behavior. A wire-free mower depends on its supported mapping method, the quality of the saved boundary, and how well the yard conditions support that navigation. Neither approach is automatically better in every yard; the better choice is the one that matches the property’s shape and your tolerance for setup work.
For small, relatively simple lawns, it can be useful to look at compact wire-free examples such as the Segway Navimow i105 profile to see the kinds of yard-fit fields worth comparing before you commit to a setup style. The important habit is not brand loyalty; it is checking boundary method, slope rating, claimed yard size, drive system, cutting range, obstacle handling, and app control against the lawn you actually have.
Day 3: run supervised cuts and keep a rescue log
The first real mowing sessions should be supervised from a distance. Do not hover over every turn, but stay available. You are looking for patterns, not one-off quirks.
- Missed strips: note whether they happen near borders, in turns, around trees, or in narrow connectors.
- Stuck points: record the exact location and cause, such as a dip, root, loose mulch edge, steep transition, or tight obstacle spacing.
- Scalping: look for high spots, uneven soil, or sudden grade changes rather than immediately blaming the mower.
- Wheel marks: check whether the mower is turning repeatedly in the same damp or soft area.
- Docking failures: separate navigation issues from physical station placement issues.
A rescue log sounds fussy, but it prevents random tinkering. If the mower gets stuck once because a soccer ball was left out, that is household routine. If it gets stuck three times at the same exposed root, that is a yard-design problem asking for a permanent fix.
Day 4: build no-go zones and soften the edges
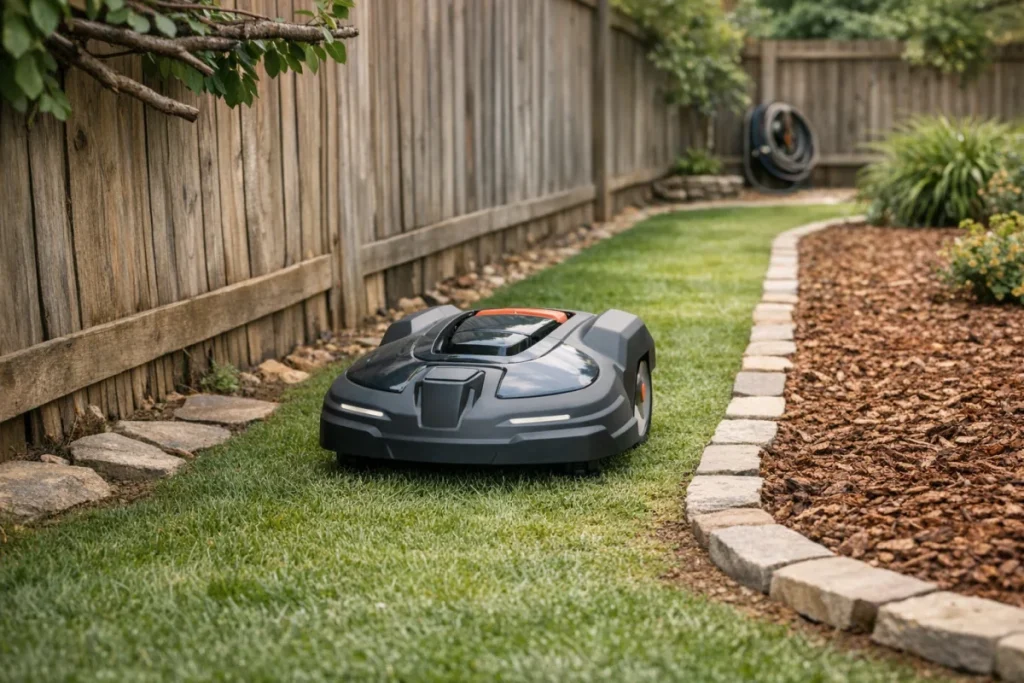
By the fourth day, you should have enough evidence to draw better boundaries. Add no-go zones around temporary hazards only if they are truly recurring. For permanent features, decide whether the mower should avoid them or whether the yard should be adjusted so the mower can pass cleanly.
Common first-week improvements include widening a narrow passage, trimming low branches, moving a hose reel, filling a rut, adding a small hardscape transition, or redefining the mowing edge near mulch. A mower-friendly yard does not need to look sterile. It simply needs fewer traps that require human rescue.
Do not expect the robot to finish every edge perfectly. Most owners still need occasional trimming along fences, retaining walls, raised beds, and tight corners. The win is that trimming becomes a short cleanup task instead of the main weekly event.
Day 5: tune mowing windows around real household life
A good schedule respects the mower, the grass, and the people using the yard. Begin with modest mowing windows and expand only if coverage is incomplete. Frequent short sessions are often better than infrequent marathon runs, but the right pattern depends on lawn size, growth rate, weather, and how efficiently the mower navigates the property.
Schedule around irrigation so the mower is not routinely working through wet grass. Avoid the busiest play times for kids and dogs. If the front yard is close to a sidewalk or street, choose windows that feel comfortable for visibility, noise expectations, and neighborhood routines. Robot mowers are generally much quieter than gas mowing, but a calm schedule still beats a surprising one.
Change one major variable at a time: cutting height, mowing duration, active zones, or allowed days. When several changes happen together, it becomes hard to know what actually improved the result.
Day 6: add the hard parts one at a time
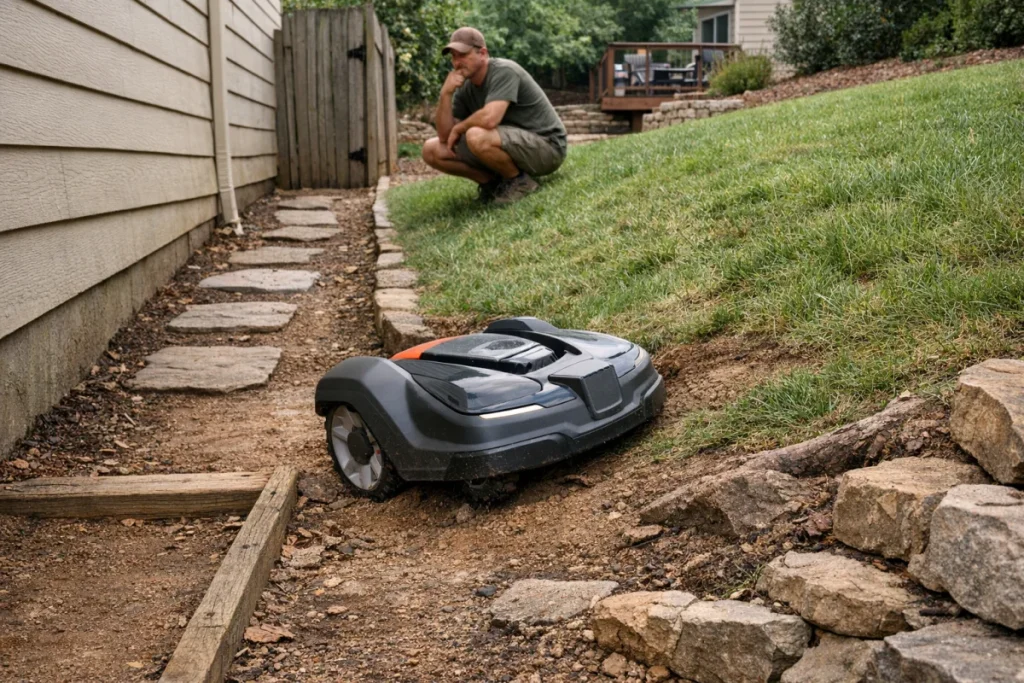
Now bring in the complicated areas: the side passage, the fenced back corner, the slope behind the patio, the detached strip near the driveway, or the shaded patch under trees. Test each area separately before folding it into the main routine.
Slopes deserve special attention. Manufacturer slope ratings are useful comparison points, but real yards add variables: damp grass, uneven soil, turning direction, surface firmness, and how the mower approaches the grade. If a slope causes repeated slipping or harsh turns, reduce the area, alter the boundary, or consider whether the mower type is wrong for that zone.
Separate lawn sections may need separate work areas, transport paths, or manual moves depending on the mower and property. The first week is the time to discover whether the front and back lawns behave like one system or two different jobs.
Day 7: decide what is dependable enough
By the seventh day, do not judge success by whether the lawn looks freshly striped. Judge it by repeatability. A dependable setup should complete normal mowing sessions, return to charge, avoid known hazards, and leave only predictable edge cleanup. The lawn should look consistently maintained rather than dramatically cut.
Use this final day to set your first real schedule. If the mower covered the lawn easily, keep the schedule conservative and let the grass response guide you. If coverage was barely adequate, add time carefully. If rescue points remain, fix the yard or map before expanding the schedule. More runtime cannot solve every physical problem.
- If the mower missed areas near boundaries, review the map or wire placement before changing the entire schedule.
- If it left tufts in fast-growing areas, increase frequency or adjust zones rather than lowering height too aggressively.
- If it created wheel marks, reduce wet mowing and look for repeated turn patterns.
- If it struggled to dock, revisit station placement before assuming a navigation failure.
Common first-week mistakes
The biggest mistake is asking the mower to prove itself on the hardest version of the yard immediately. Overgrown grass, toys left out, wet soil, unmapped hazards, and narrow passages all at once create noisy data. You cannot tell whether the mower is unsuitable, the map is poor, or the yard simply needs prep.
The second mistake is chasing perfection too early. A robot-mowed lawn often improves through repetition: small clippings, steadier height, and fewer dramatic cut cycles. If you want a sense of what changes after the first week settles down, read what actually changes after a month with a robot-mowed lawn.
The third mistake is ignoring the household routine. A schedule that conflicts with pets, children, irrigation, backyard dinners, or gate access will not feel automated for long. The best robot mower schedule is the one the lawn and the household can tolerate without daily negotiation.
Main lessons
Use the seven-day robot mower trial as a learning period, not a pass-fail exam. Cut the lawn down first, test docking before mapping, begin with the easiest area, keep a simple rescue log, and expand only after the mower repeats clean runs. The quiet, low-effort lawn routine becomes realistic when the first week turns guesswork into evidence.
If the mower finishes the week with a stable map, sensible no-go zones, and a schedule that fits your yard’s growth and your household rhythm, you are in the right zone. From there, the work becomes lighter: occasional trimming, seasonal height adjustments, blade care, and small yard fixes that help the machine stay boring in the best possible way.